Setting quench / squish
Q: how to set quench
The following procedure is mandatory when rebuilding most any modern 2-stroke with a Torodial combustion chamber (i.e. Rotax, BRP, Skidoo, Suzuki, etc). This outline is designed for the do it yourselfer with limited tools although it does require a simple dial indicator (in .001 maximum) as well as a deck bridge.
Look closely at the photos and you will see that these simple measurements are easy and VERY important to the proper operation and longevity of your build.
This also the SAME procedure if you prefer wish to also gauge the OEM piston projection dimension.
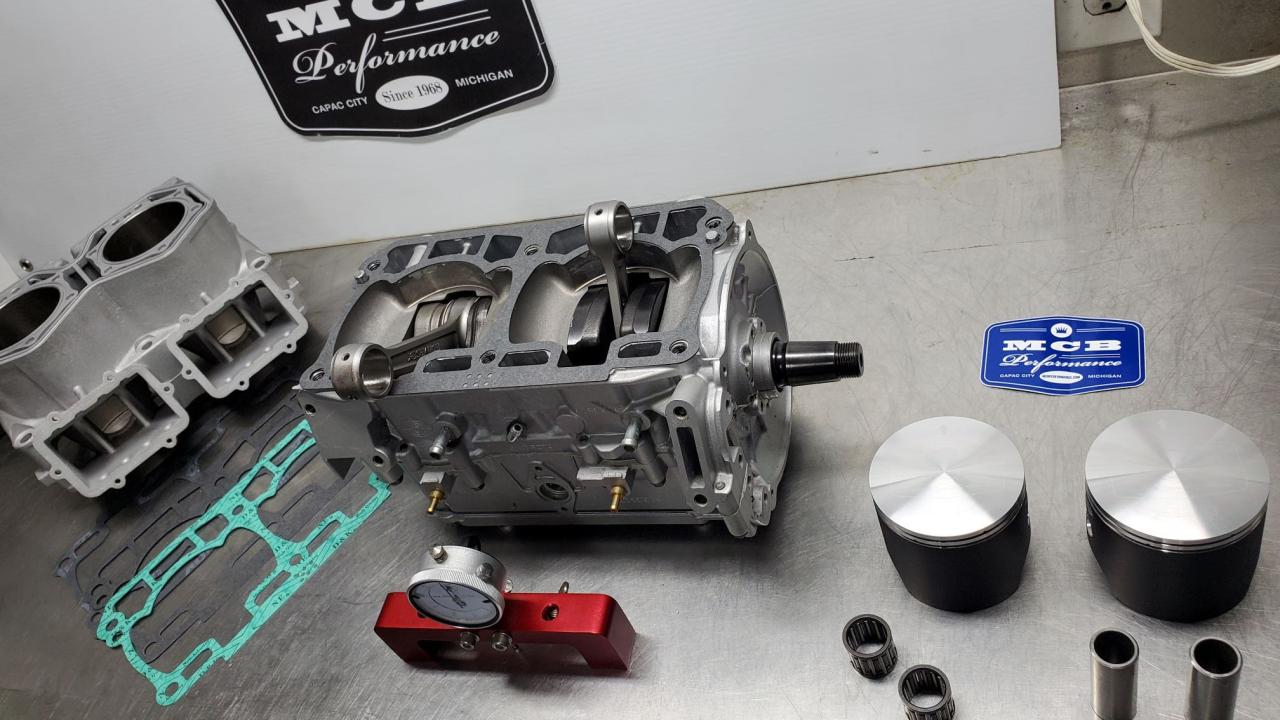
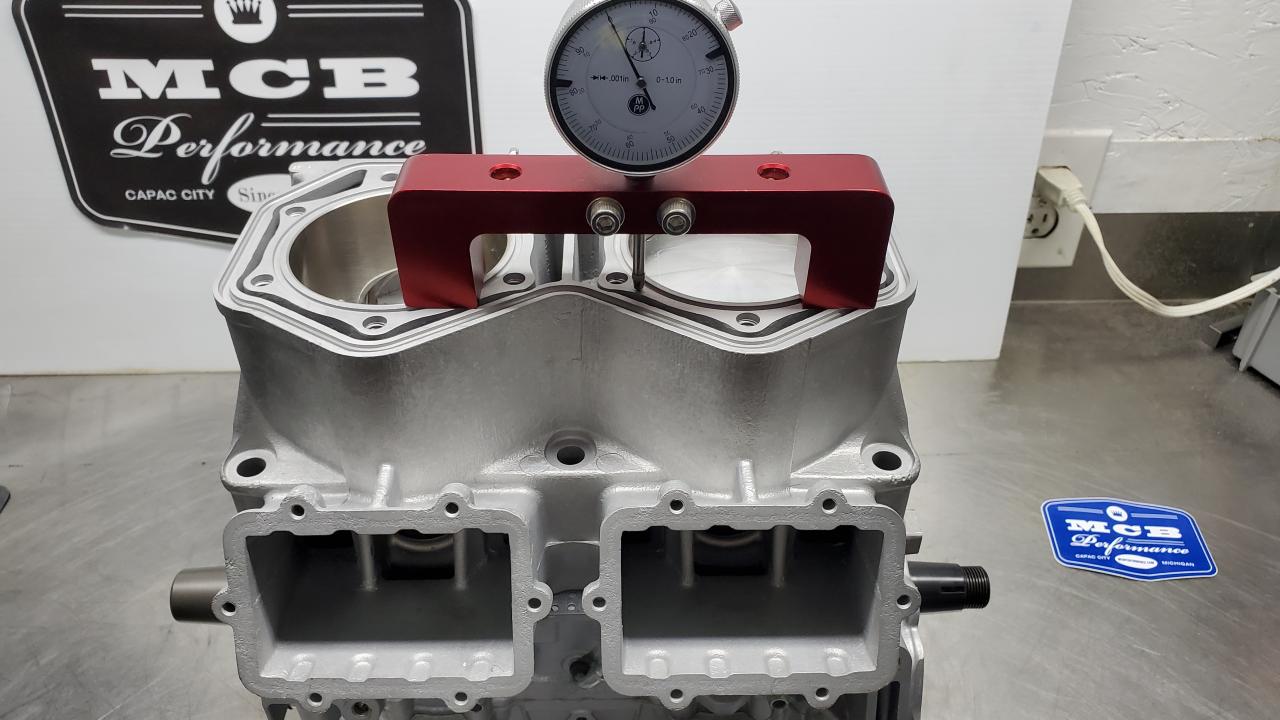
1 - The parts needed shown below:
2 - Dry install any base gasket in the kit and NOTE THE THICKNESS. You can try the original thickness you removed but VERY often it will need to be changed for many reasons.
3 - Install the pistons WITHOUT RINGS, in the proper orientation WITH pin bearings (clips are not necessary at this point)

4 - Lightly lube the piston skirts and install the (CLEAN) cylinders and lightly tighten the cylinder bolts (not shown in pic).

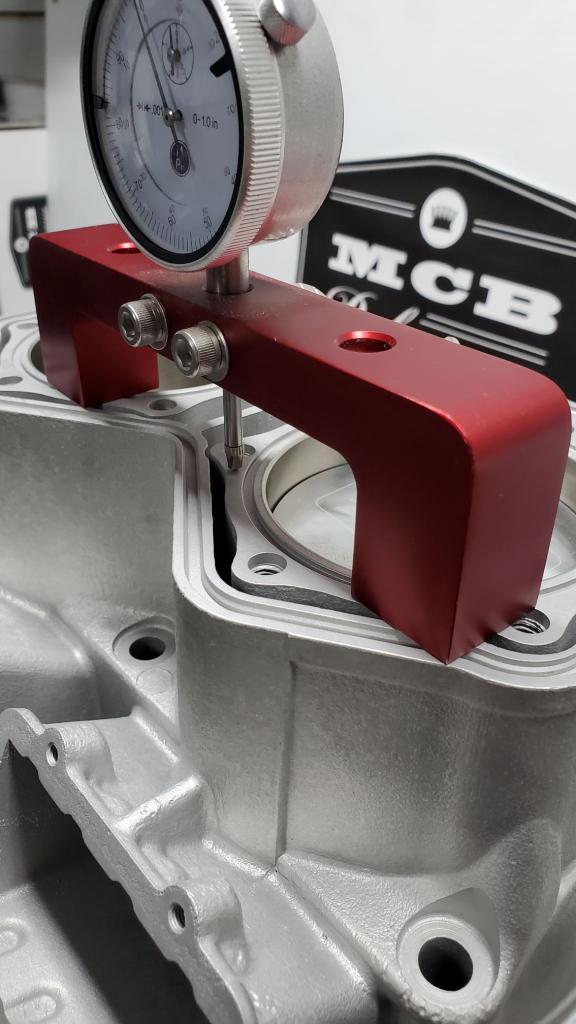
Zero your indicator to the top of the cylinder casting
Showing the zeroed gauge again...
Bring the piston to its highest possible level and note the reading, do this a few times to verify you have established top dead center. Note: this is also how OEM piston projection dimension is gauged.
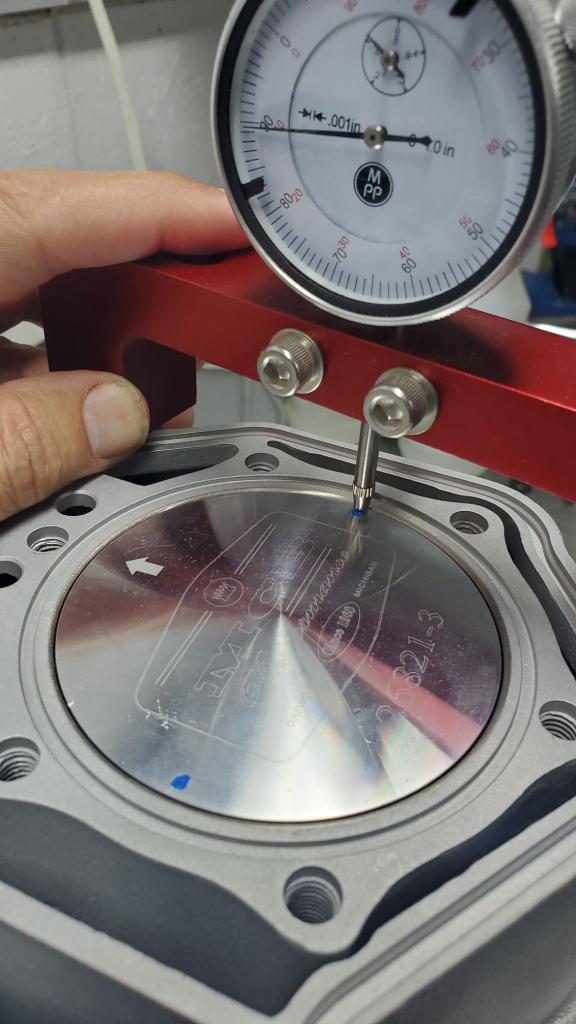
Once the gauge is zeroed to the cylinder, position it now right next to the edge of the bore IN LINE with the piston pin and reverify its zeroed.
With the piston at TOP DEAD CENTER walk the gauge off the edge and let it rest on the very outmost edge of the piston but not dragging on the cylinder wall. This dimension is then recorded. (note this gauge is reading .011 down the hole)
Repeat this measurement on the other side of the piston again IN LINE with the piston pin. (note the gauge also reading the same .011 as the other side)
If the numbers vary, simply average the two numbers
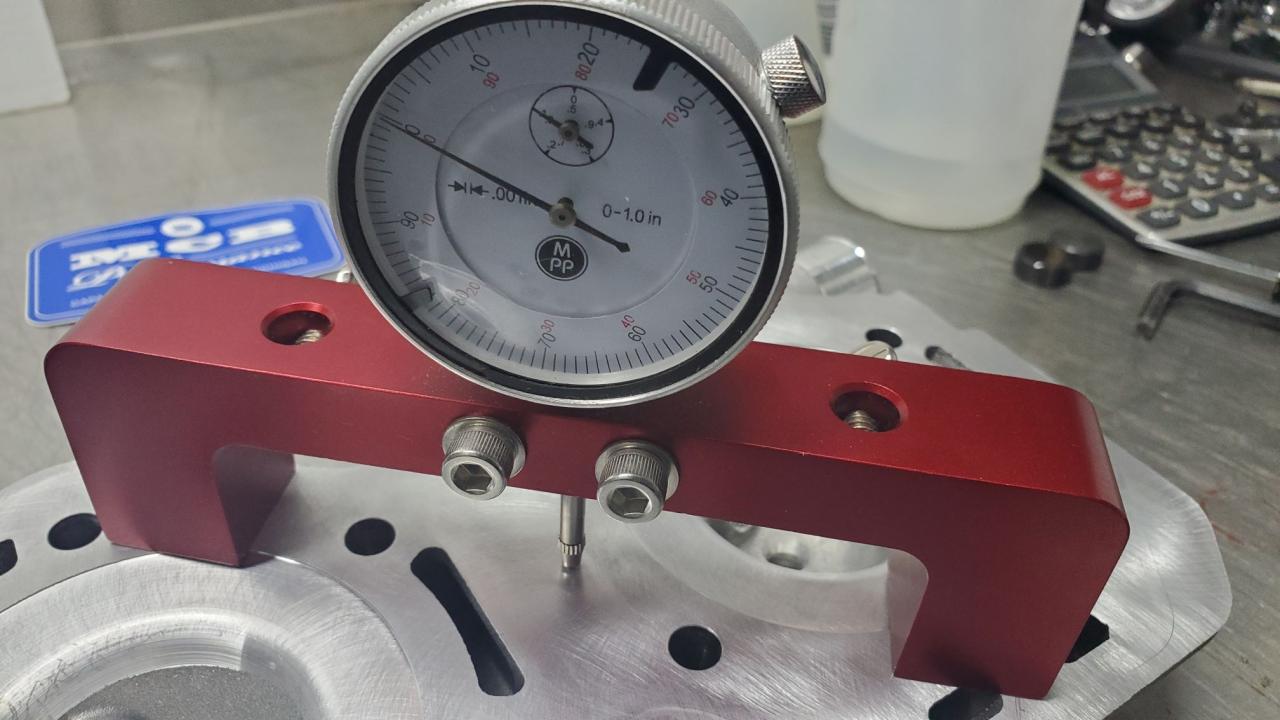
Now we can do the same for the cylinder HEAD. We want to determine the depth of the quench band cut in to the head. Some engine do NOT have a noticeable cut however the quench/squish band may taper rapidly away from the bore edge.
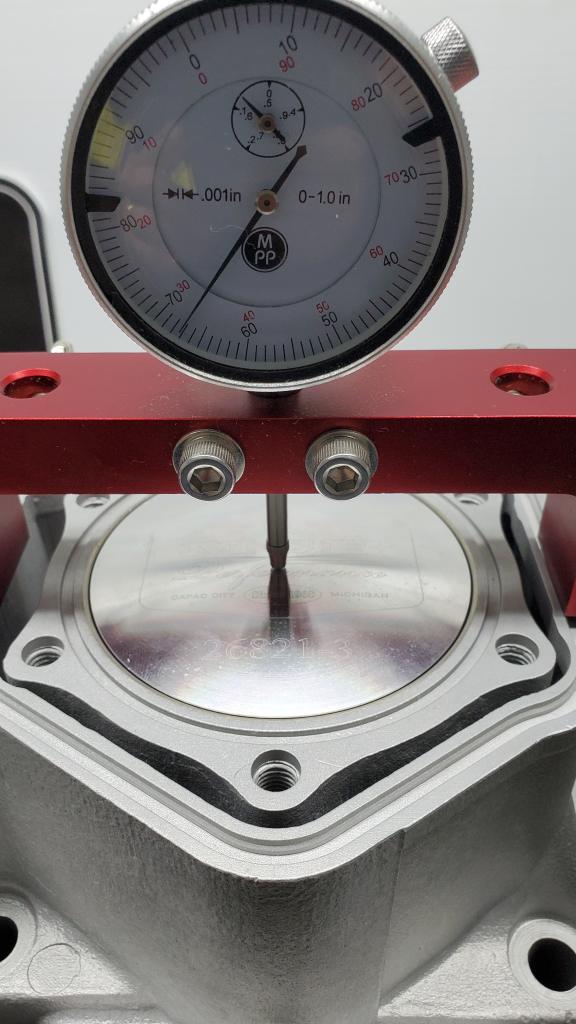
As shown, once again zero your gauge to the sealing surface of the head
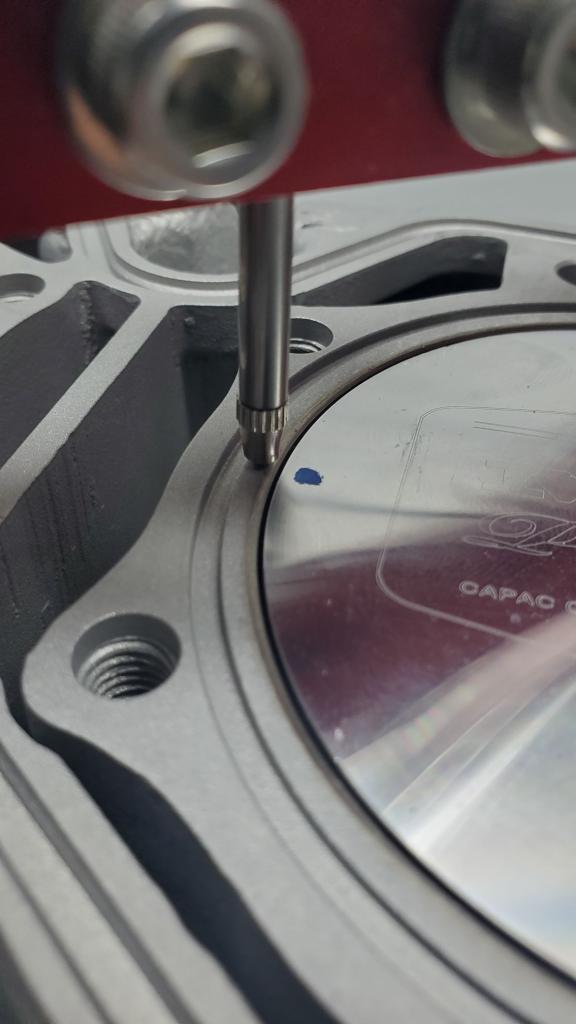
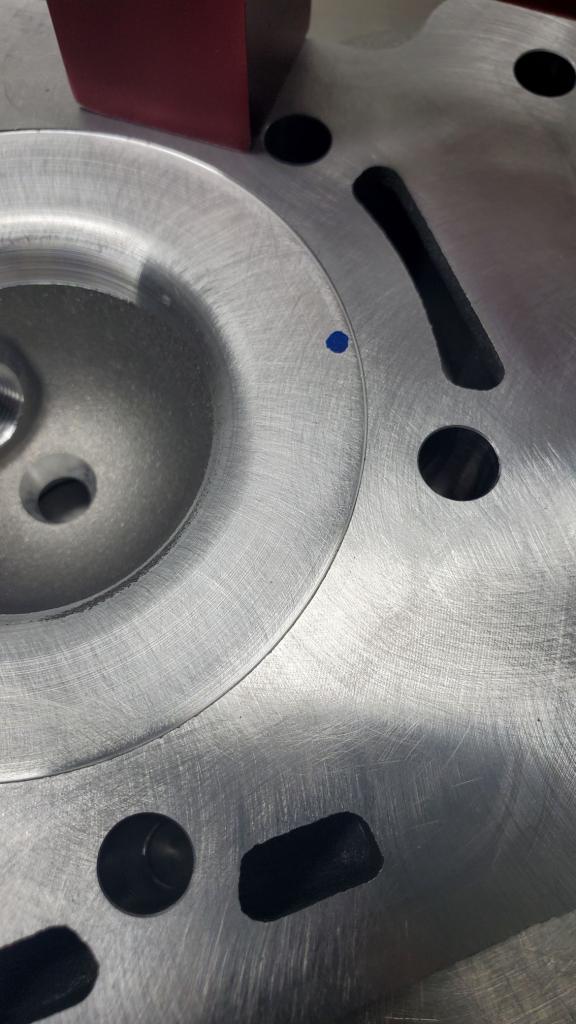
The blue dot below showing where we want to measure the step in the head
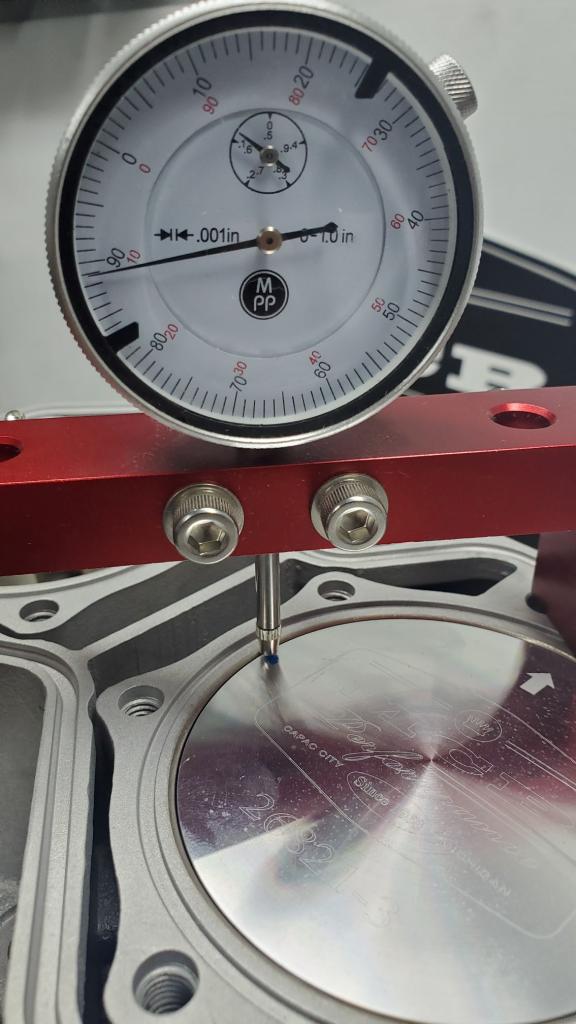
Again walk the gauge off the edge of the head right at the bore wall interface. Read and record this dimension. (Note the gauge here is reading .025)
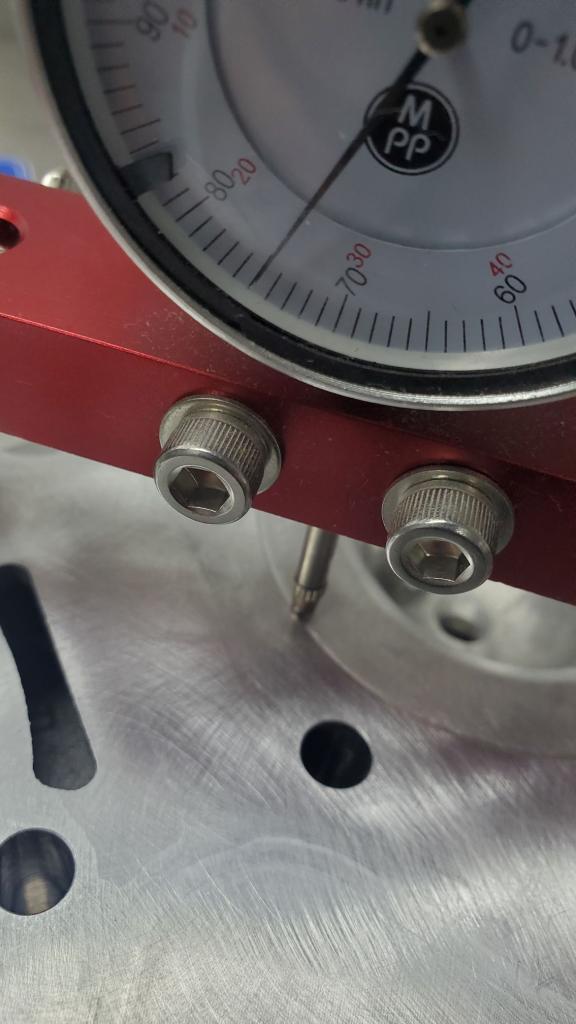
Now we simply add the piston clearance dimension the head step dimension and you have an exact measurement of quench/squish. In this example we have the piston down the hole .011 plus the head step at .025 for a total of .036.
Now with this total measurement (.036), compare it to the required clearance guidelines outlined in our MCB Top-End instructions or the factory service manual.
To adjust this dimension you can simply increase or decrease quech by using a thicker or thinner base gasket. This is why MCB includes several of the critical gasket sizes in our complete kits.
Some key additional points:
- The material used in the base gasket can have an effect on how much it yields once it is fully torqued. For instance a composite gasket will often show a tighter quench once fully torqued vs lightly tightening the cylinder bolts for just checking.
- In general if the engine is tuned and running properly and has FRESH good quality fuel you are always safer to go TIGHTER rather than thinking that you can reduce detonation with a looser quench dimension. When quench is too loose the MSV (velocity of gasses pushed in to the combustion chamber) becomes highly detonation PRONE as fuel can puddle and these is less heat transfer.
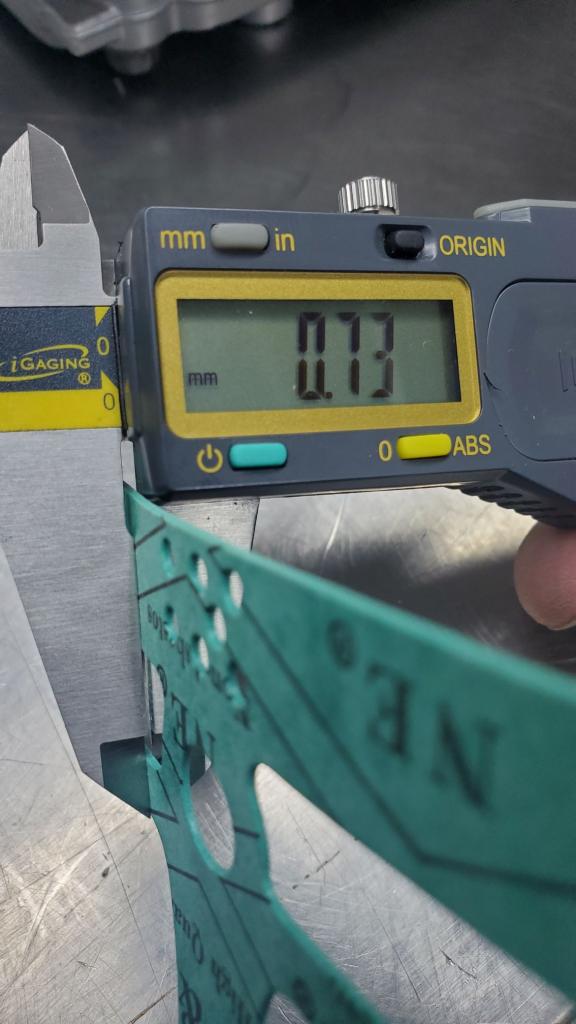
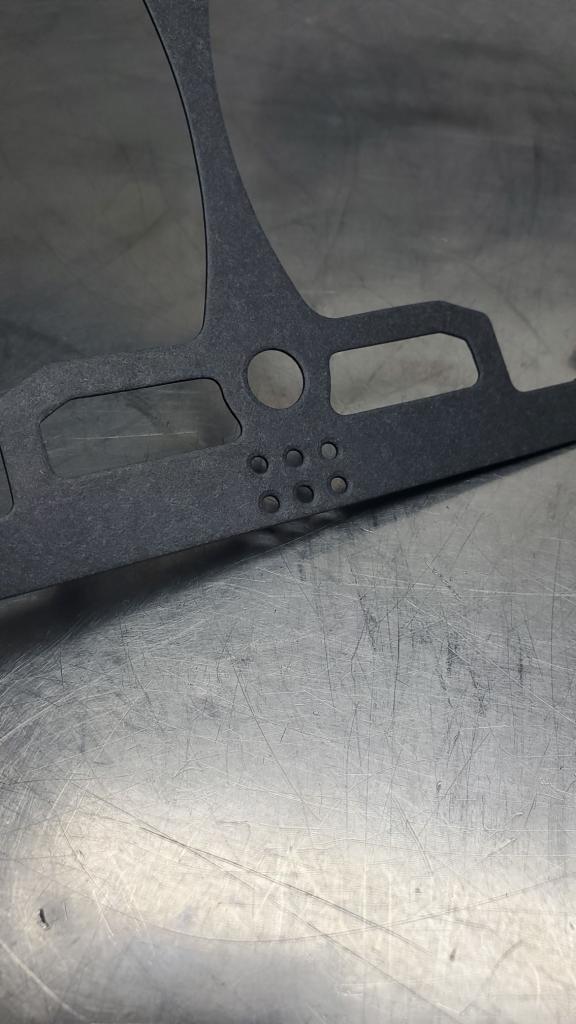
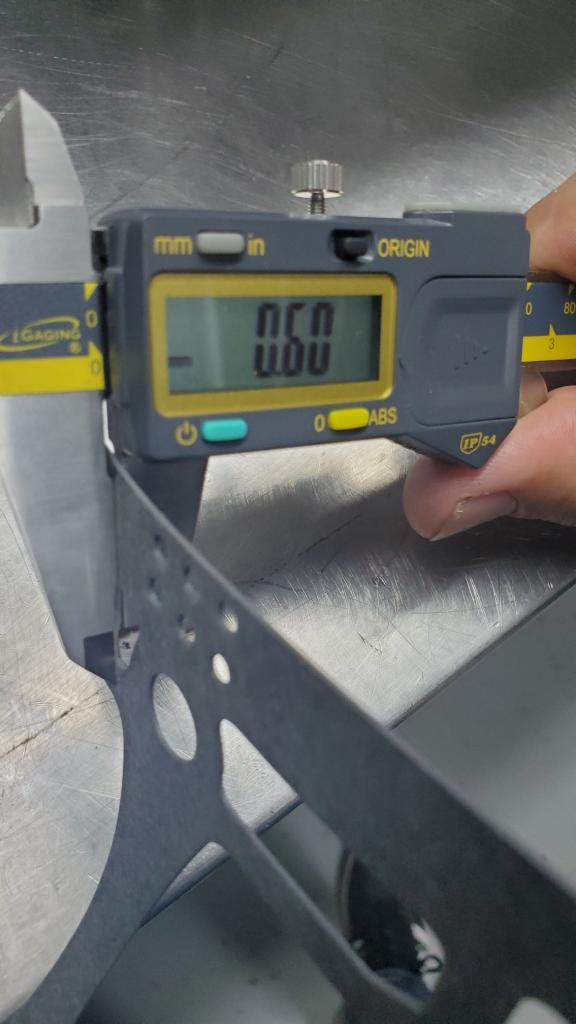
Note the gasket below is a "6 hole" gasket which should measure .060
showing the actual measuring of the gasket and you should do the same to help compare your choices once you know what you need to install
a paper style "7 hole" gasket measurement, note the variance and this is why its a good idea to validate the gasket!